There are five main cases when hooping designs in Hatch Embroidery:
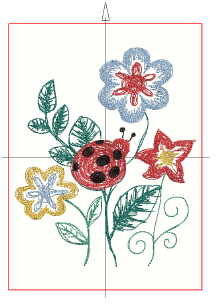
A single design that fits within a single hoop.
A single design that will not fit within a single hoop but can fit within a multi-position hoop. Multi-position hoops generally consist of two (2) or three (3) overlapping stitching areas.
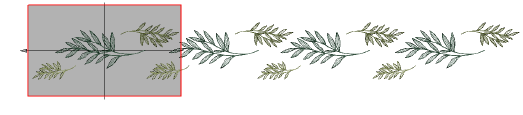
A single design that fits within a single hoop, but which is repeated continuously.
A work-piece layout involving multiple designs each requiring its own hooping.
A single design that will not fit within a single hooping but requires multiple hoopings.
With each hooping, there is generally only one important reference point – the hoop center. This is particularly so where machines automatically center the design. When designs are located on a large work-piece, like a table cloth, design extents and geometric center become important for positioning.
As a beginner, you will generally use designs that fit entirely within the available hoops for your machine. You will mostly use default settings both in Hatch Embroidery and on the machine. The hoop center becomes the reference point for all designs you do in this manner. This technique provides the basis for all other techniques you will use. See Stitch out single designs for details.
As an intermediate user, you’ll no doubt want to try laying out larger designs using multi-position hoops. These allow you to utilize a larger area of fabric to combine several designs or split large designs. Design components are sewn in different stitching areas without the need to re-hoop the fabric.
Continuous embroidery consists of a single design, repeated continuously, that fits within a single hoop. In Hatch Embroidery, continuous embroidery can be achieved in one of two ways:
Manual continuous embroidery consists of a single design with manually inserted basting stitch markers or graphic markers at start and end of design for alignment. See Manual continuous embroidery for details.
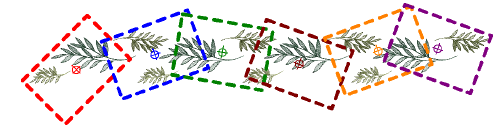
Automatic continuous embroidery consists of multiple design repeats combined with multi-hooping to create output files with automatic registration marks. See Automatic continuous embroidery for details.
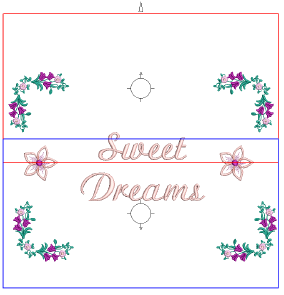
As an intermediate user, you may want to create design layouts on large work-pieces. Each design will fit in a single hoop but there may be multiple designs in the piece. Each hooping has its own reference point that is used with the hoop template to accurately place the design at the correct orientation. As there is only one design per hooping, there is no need for secondary placement points. The main benefit of this technique is that all components can be accommodated within a single design file. See Stitch out work-piece layouts for details.
If your design is large or involves a large work area, you have the option of splitting it into multiple hoopings. The Multi-Hooping toolbox lets you position hoops to obtain the least number of hoopings necessary to accommodate the whole design.
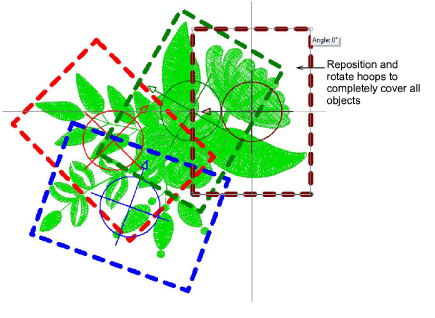
Each hooping contains an object or group of objects that can be stitched out entirely on their own. Hoopings are thus stitched consecutively to form the whole design. See Create multi-hoop designs for details.
Add-ons
Get started & learn faster with...


