Select & display hoops
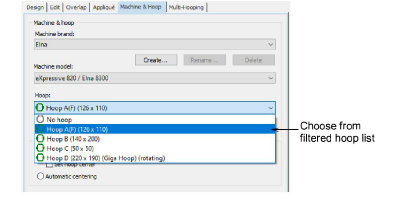
The hoop list on the Context toolbar shows which hoop is currently active in the design window. The list is filtered according to the selected machine brand and model/type which may include hoops you have created.
To select and display a hoop...
1Change hoops at any time via the Context toolbar droplist.
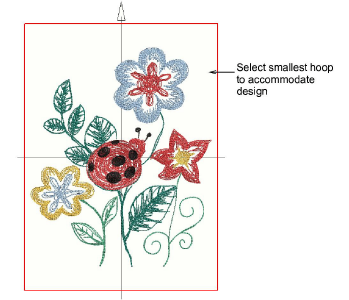
Tip: Always aim to select the smallest hoop which will accommodate your design.
2Toggle the Show Hoop button on the View menu to display the current hoop.
Tip: Change background color of the hoop via the Customize Design > Background and Display Colors dialog.
3Optionally, click the Machine & Hoop Options button to change hoop selection or modify the list at any time.
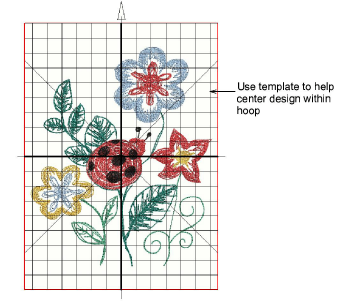
4Optionally, turn on the hoop template display via the Show Hoop Template toggle. The template may be used to help position your design within the hoop.
Usage tips
-
You can include the hoop template in the design worksheet, together with alignment and registration guide markings. This allows you to cut out the printed design and align it within the hoop. Use the template markings to align it to physical hoop template.
-
The selected hoop is saved with the design in native EMB file format. When the machine reads the machine file, the stitching area is limited by the selected hoop type.
-
If you have a hoop which is not listed, you can define your own.
Related topics