Auto-digitize with PhotoFlash
Use PhotoFlash to create embroidery from photographs or other images, color or grayscale. PhotoFlash designs consist of rows of stitches of varying spacing settings. The effect resembles the output of a line printer.
To auto-digitize with PhotoFlash...
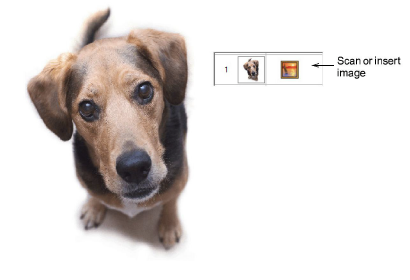
1Scan or insert the photo you want to use. For best results, use crisp images with well-defined subjects and strong contrasts. See Prepare photos for auto-digitizing for details.
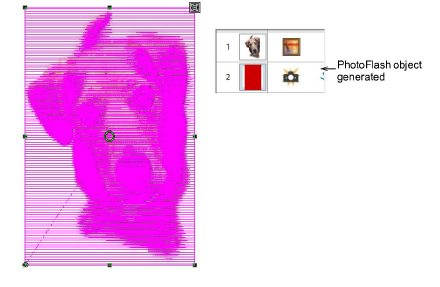
2Select a thread color and, with the image selected, click the PhotoFlash icon.
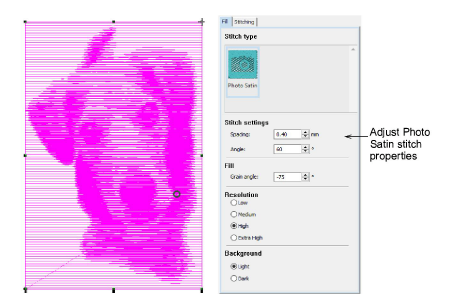
3The Object Properties > Fill tab gives you control over settings such as grain or orientation, stitch angle, density or resolution, as well as background contrast.
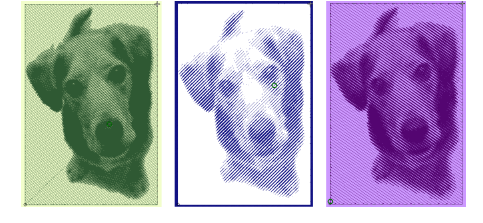
4Turn off the image – press D – for a better view. Experiment with settings for optimum effect against your chosen background.
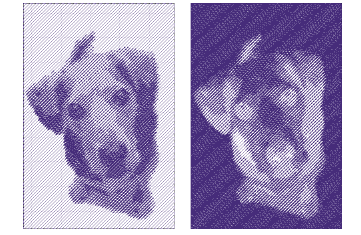
5Select a resolution – low, medium, high, or extra high. The coarser the resolution, the more spacing between rows. The option you select usually depends on whether the fabric is light or dark. The dark option produces an image negative.
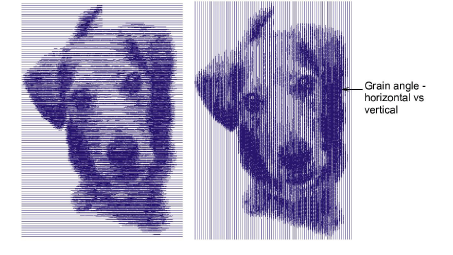
6Adjust the grain angle to set the overall angle of stitch lines.
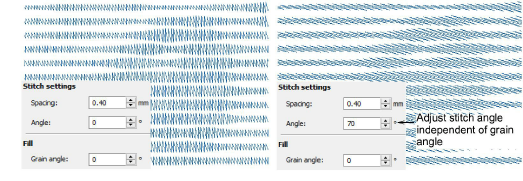
7Adjust the stitch angle to run complementary to the grain angle as preferred.
8Select a background option as preferred. ‘Dark’ produces a negative image.
Related topics