Auto-digitize fills
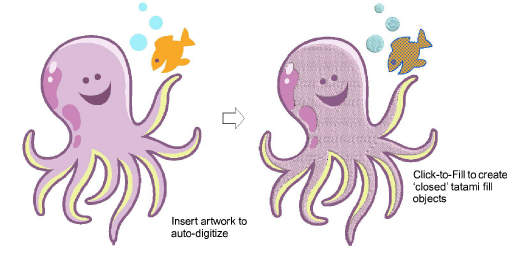
Click-to-Fill tools can be used to create ‘closed’ tatami fill objects, as well as objects with turning satin fills. Current properties are applied. You can modify these as required before or after using the tools. The tools handle both bitmap and vector formats.
To digitize fills with Click-to-Fill...
1Scan or insert the artwork you want to use. See Assign threads for auto-digitizing for details.
2Select the appropriate Click-to-Fill input method and hover the cursor over the shape you want to digitize. The area is detected and a cross-grid appears.
3Click the shape. It is instantly digitized and assigned a thread color.
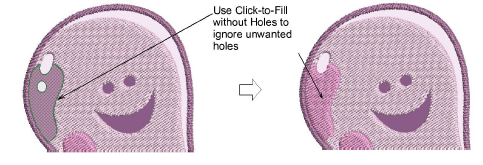
4If you want holes ignored, use the Click-to-Fill without Holes tool.
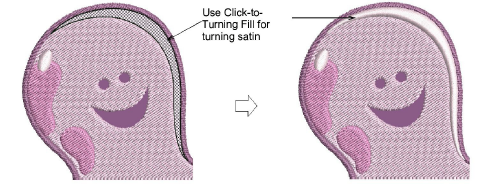
5Use Click-to-Turning Fill to digitize narrow column shapes with turning satin stitching.
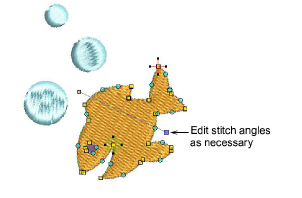
6Optionally, use Reshape to edit generated objects, in particular, stitch angles.
7Optionally, use Smooth Shapes to apply curve ‘smoothing’ to generated embroidery objects.
8Stitches are generated according to current stitch settings. These can be further modified as necessary.
Related topics