Insert artwork as vectors
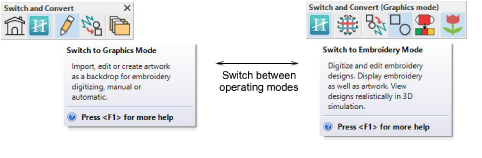
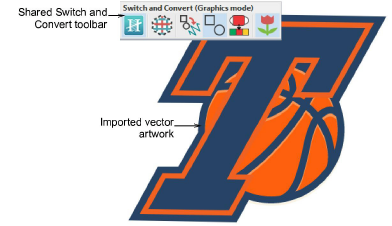
Vector graphics of different formats can be inserted or ‘loaded’ into Hatch Embroidery for use as digitizing backdrops or for conversion to embroidery. Hatch Embroidery has a single ‘design window’ but when integrated with CorelDRAW®, you may interact with it via the Switch and Convert toolbar.
Vectors can be inserted both in Embroidery Mode and, if available, Graphics Mode. Embroidery Mode has limited options for vector import. Graphics Mode gives you access to the full range of CorelDRAW® supported vector graphic types as well as bitmaps. See also Supported artwork.
Note: CorelDRAW® needs to be registered before it can be used by Hatch Embroidery. Registration provides CorelDRAW® Standard Membership which gives you access to content – clipart, fonts, stock photos, templates – via Corel CONNECT.
To insert vector artwork in Embroidery Mode...
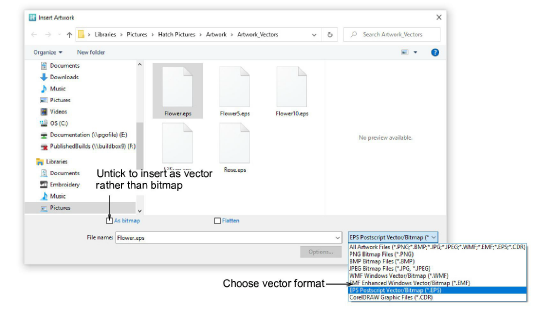
1In Embroidery Mode, click Insert Artwork on the Artwork toolbox or Standard toolbar.
2Navigate to the graphics folder. The dialog defaults to ‘All graphic files’ which displays all supported file types – BMP, PNG, EPS, etc.
3Select the vector artwork you want to import – e.g. EPS.
4Untick the As Bitmap checkbox to insert the artwork as vectors. Not all vector formats support this option. These will be imported as a bitmap images.
Caution: EPS files imported into Hatch Embroidery as vectors may use different colors to the source file. Also unexpected outlines sometimes appear around imported vector objects. These can be edited in the design window.
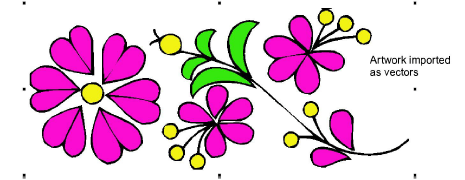
5Click Open to insert the vector graphic into the design window.
Tip: You can also paste vectors directly into Hatch Embroidery through the MS Windows® clipboard.
To insert vector artwork in Graphics Mode...
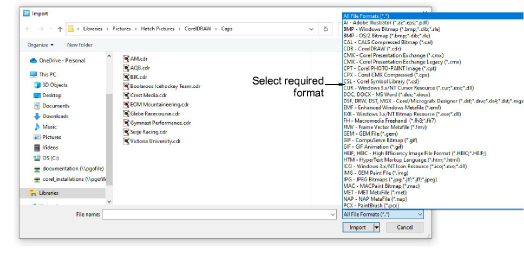
1Switch to Graphics Mode and go to File > Import. The Import dialog opens.
2Select a folder and select a file type from the Files of Type list – e.g. CDR.
3Click Import to open the vector artwork.
Note: The Graphics Mode workspace contains the entire suite of CorelDRAW® drawing tools. This mode allows you to create and edit vector graphics using the Graphics Mode toolset which offers many sophisticated techniques for drafting outlines and shapes onscreen. The Switch and Convert toolbar provides options for converting graphics to embroidery and vice versa.
Related topics