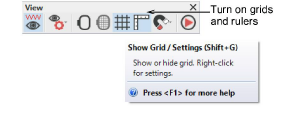
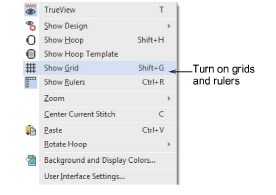
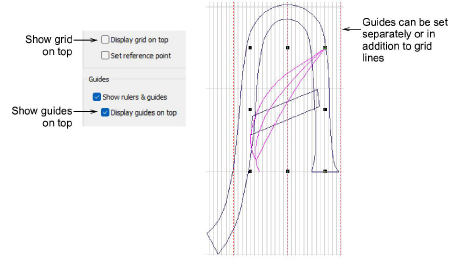
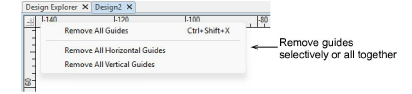
Click View > Show Rulers & Guides to show or hide rulers and guides. Right-click for settings.

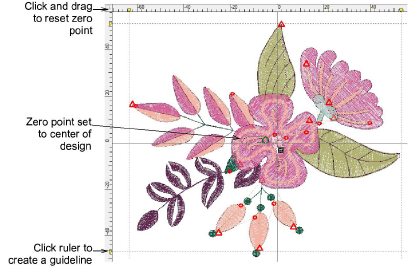
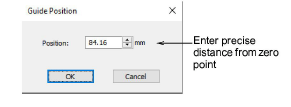
This button appears at the point where rulers intersect. Click to set the ruler zero point to the top left corner. Alternatively, drag to set a zero point in the design window.