Use Lettering / Monogramming > Lettering to create embroidery lettering using embroidery alphabets, Keyboard Design Collections or TrueType fonts, or edit selected lettering.
|
|
Use Lettering / Monogramming > Lettering to create embroidery lettering using embroidery alphabets, Keyboard Design Collections or TrueType fonts, or edit selected lettering. |
Place lettering on horizontal or vertical baselines, curve it around a circle or arc, or digitize your own baseline curves. Apply formatting similar to a word processor, including slanted letters and left/right justification. Hatch Embroidery provides a font range suitable for many applications.
1Select a color. See also Change design colors.
2Click the Lettering tool, click the design window, and start typing.
3Alternatively, type or paste the text you want to embroider in the Lettering tab. The text will automatically appear in the design window.
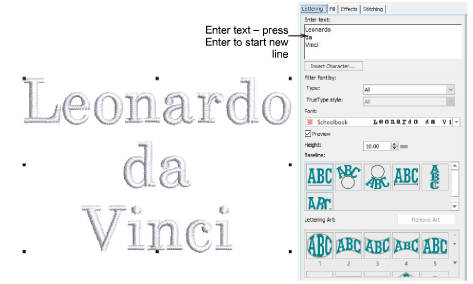
4To start a new line of lettering, press Enter.
Note: The 0,0 point shown on the ruler defaults to the center of the screen. If you have moved the center point for any reason, the lettering object will still appear at center screen. If necessary, select and move to the required location in the design.
1Select a font from the Font list. You can use both native embroidery fonts and many TrueType fonts installed on your system. Native embroidery fonts generally offer better results.
2Use the filter to sort the font list for easier selection. Preset the font type – ‘TrueType’ or ‘Embroidery’. Embroidery fonts include a recommended size range. Maximum and minimum heights refer to UPPER CASE letters.
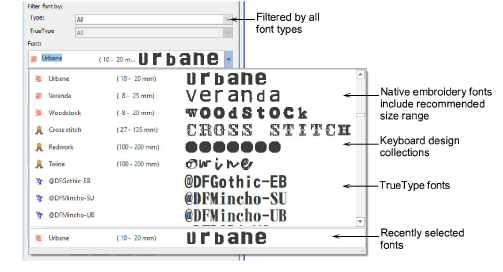
TrueType fonts can be further filtered by style – block, serif, etc.
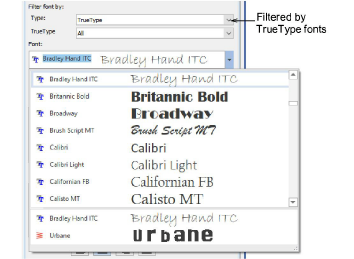
3With the font list still highlighted, use the arrow keys to scroll through the list with or without the preview panel opened. Try out different fonts ‘on-the-fly’.
Tip: You can set the size of your font preview via the User Interface Settings > General tab. You can also adjust the number of recently selected fonts. See Font list display options for details.
You can modify lettering objects directly on-screen to achieve various artistic effects. Appearance and layout depend on current settings.
Select a lettering baseline. You can place lettering on a straight horizontal or vertical baseline, curve lettering around a circle or arc baseline, or digitize your own. See also Lettering layouts.
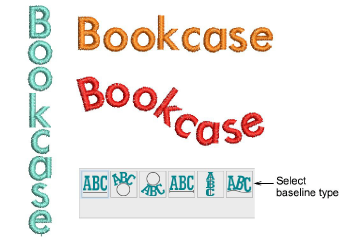
The Lettering tab contains a number of preset ‘lettering art’ styles which can be applied to lettering to make it bulge or arch, stretch or compress. The effect is best used with a fixed-line baseline. See also Lettering layouts.
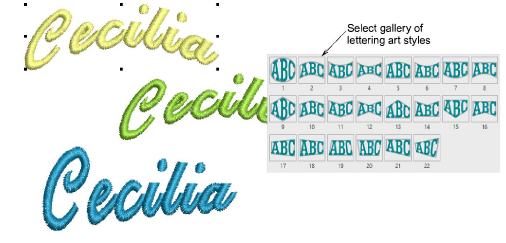
Adjust lettering height as preferred. Consider the font before changing letter size. Some fonts look best in a smaller size. Others can be stitched at a larger size.
Select an alignment setting. Alignment governs the way lettering aligns itself along a baseline. Full alignment spreads letters out to fill the length of the baseline.
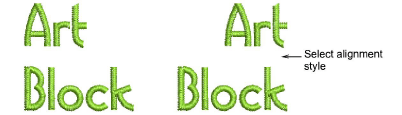
Embroidery and TrueType fonts generally contain many more characters than are available via your keyboard. Click Insert Character to add special characters and symbols via the dialog. See Insert special characters for details.
You can also insert Japanese characters via the Insert Character dialog. Or use Google Translate and copy and paste into Hatch Embroidery via the Lettering or Monogramming tools.
Add-ons
Get started & learn faster with...