Use Lettering / Monogramming > Lettering to create embroidery lettering using embroidery alphabets, Keyboard Design Collections or TrueType fonts, or edit selected lettering.
|
|
Use Lettering / Monogramming > Lettering to create embroidery lettering using embroidery alphabets, Keyboard Design Collections or TrueType fonts, or edit selected lettering. |
Embroidery and TrueType fonts generally contain many more characters than are available via the keyboard. Add special characters and symbols via Object Properties or by means of the MS Windows® Character Map.
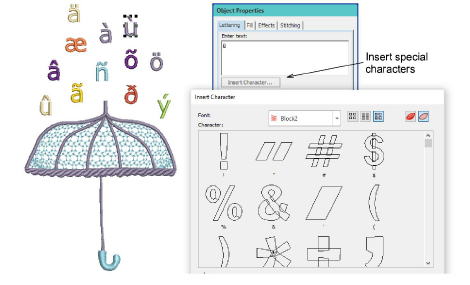
1Click the Insert Character button in the Lettering tab. The Insert Character dialog opens.
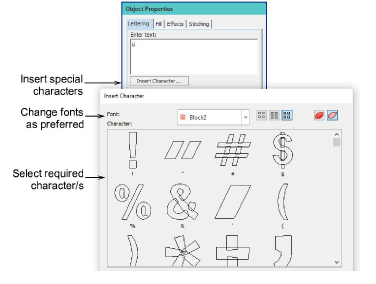
2Optionally, choose a different font from the Font list.
3Select the character/s you want to use and click OK. Selected characters are added to the text entry panel of the Lettering tab.
The character will be added to the lettering object, assuming it is available in the currently selected font.
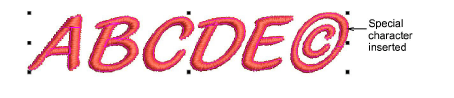
1Alternatively, use the MS Windows® Character Map to provide quick access to common symbols and letters.
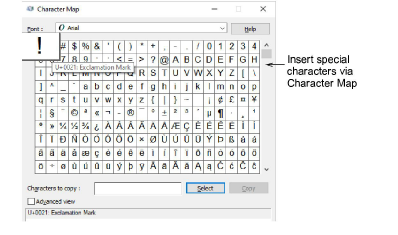
2Copy the character/s you want to the clipboard.
3Select the same font in the Object Properties > Lettering tab.
4Paste the characters into the text entry panel by pressing Ctrl+V.
Type special characters directly on screen by holding down the Alt key and typing 0 (zero) plus the code, using the numbers on the keypad.
For example, to type ê with the code 234, type Alt+0234. The accented letter will appear when you release the Alt key.
You can insert Japanese characters via the Insert Character dialog. Or use Google Translate and copy and paste into Hatch Embroidery via the Lettering or Monogramming tools.
Optionally, use the Break Apart tool to split the lettering object into its components. These can then be recolored and resequenced as desired. However, note that lettering properties are lost. See Split lettering for details.
Add-ons
Get started & learn faster with...