Use KDCs as lettering fonts
Once you have created your keyboard design collection, it’s a good idea to take it through it paces to see how far you can ‘push it’. Depending on how it was digitized and whether or not characters are scalable, you should be able to apply most Lettering properties to your embroidery characters. You may also decide that individual letter baseline and spacing settings need further adjustment.
To test your keyboard design collection...
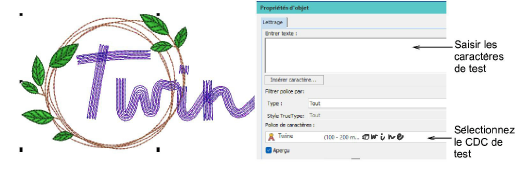
1Click the Lettering tool and filter the Font list by ‘Keyboard Design Collection’.
2Select the KDC you want to test from the Font list.
3Enter some characters in the Lettering tab. To start a new line of lettering, press Enter.
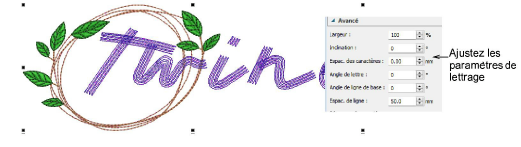
4Adjust letter height as preferred. The recommended height range appears in the droplist – e.g. ‘45 - 60 mm’. For best results, keep lettering within the recommended range.
5Try modifying the lettering settings such as spacing or slant.
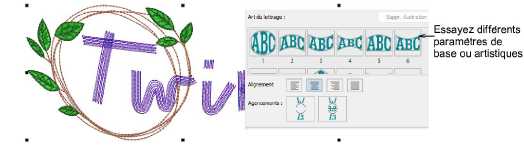
6Try out different baseline or Lettering Art settings.
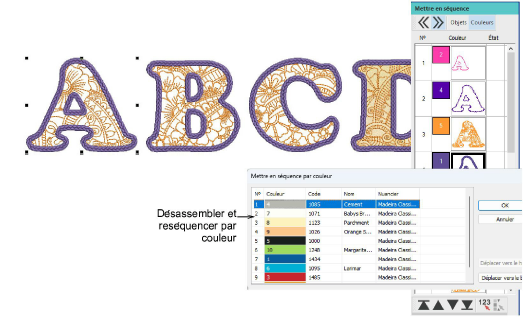
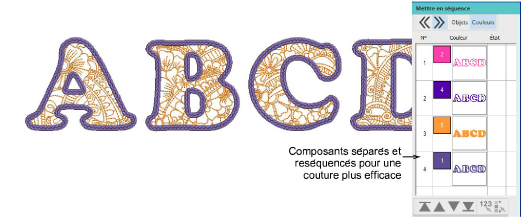
7If you are using multi-colored keyboard design collections, try breaking apart lettering and individual characters for color re-sequencing.
Components are re-sequenced for more efficient stitchout. See also Split objects and Sequence objects.
Note: KDC fonts can be applied to monogramming as well.
Related topics