Convert vector objects in Embroidery Mode
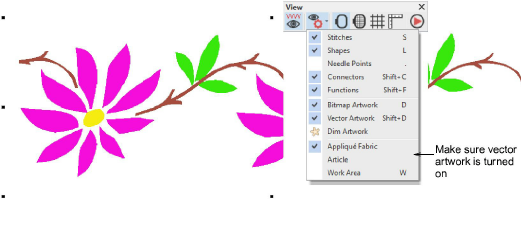
You can also convert vector objects to embroidery objects using the Auto-Digitize Instant Embroidery and Click-to- tools. Import the artwork and make sure the Vector Artwork is activated in the Show Design droplist.
Note: Untick the As Bitmap checkbox to insert the artwork as vectors. Not all vector formats support this option. See Insert artwork as vectors for details.
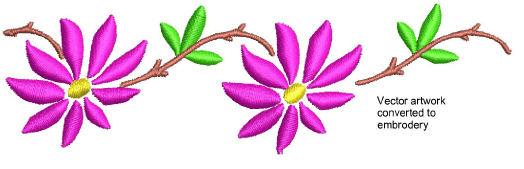
The Auto-Digitize Instant Embroidery tool can be applied to vector artwork like bitmap artwork. Simply select the design you want to convert, and click the tool. With vector artwork, there is no need for preparation. Delete any unwanted background stitching. Edit stitch colors and types as preferred.
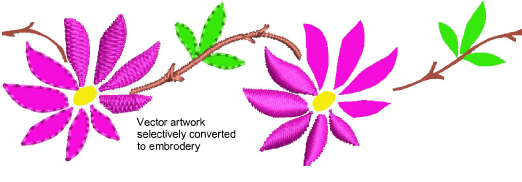
If you want more control over the conversion process, the Click-to- tools can also be used to covert vectors to ‘closed’ tatami fill objects, as well as objects with turning satin fills. Current properties are applied. You can modify these as required before or after using the tools.
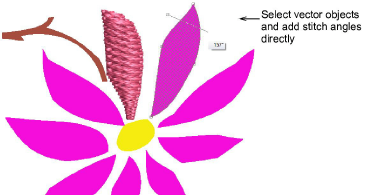
Another technique for converting vectors to embroidery is provided by the Add Stitch Angles tool. Simply select the vector object to convert, and click the tool. You are prompted to add stitch angles. Press Enter to confirm. Stitches are generated according to current settings.
Related topics