Use Edit Objects > Multi Blend to generate color blends, perspective effects and shading in selected objects.

Use Context > Underlay to apply or exclude automatic underlays to new or selected objects. Right-click for settings.
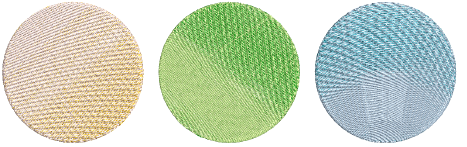
The Multi Blend effect is generally applied to tatami objects. But curved blends can be created with satin objects. Objects can be resized, rotated and skewed without losing the color blending effect.
1Select a suitable object – Satin or Tatami.
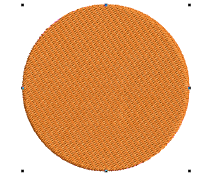
2To prevent it from showing through, deselect underlay. Travel on Edge is applied by default.
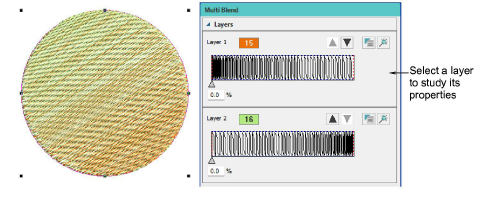
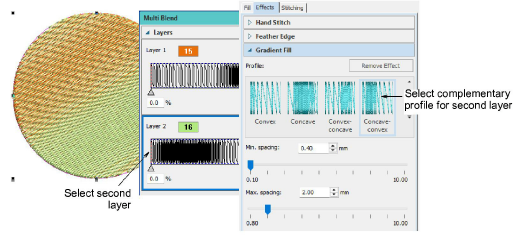
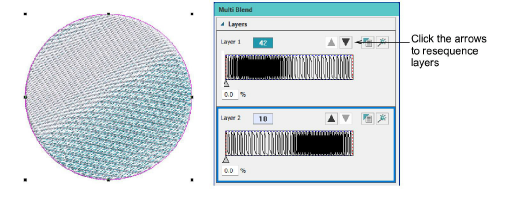
3Click the Multi Blend icon. A default effect is applied and the Multi Blend docker opens. The Layers panel provides a default two-layer blend showing a smooth color transition between layers.
4Select Layer 1 and click the Open Effects icon to access the Gradient Fill panel.
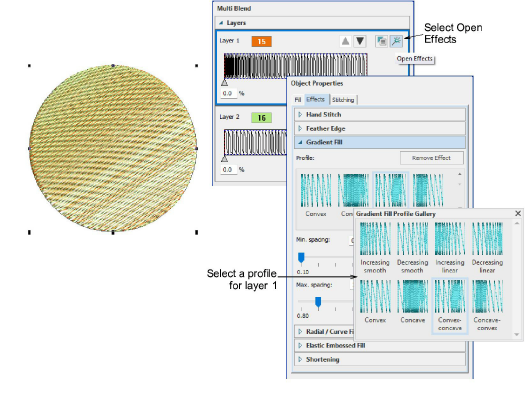
5Experiment with different profiles – e.g. ‘increasing smooth’, ‘decreasing smooth’, etc. The effect is applied immediately to the selected layer.
6Select the second layer and choose a complementary profile in the Gradient Fill tab. Generally you will want to use opposites but you can also mix and match completely different profiles.
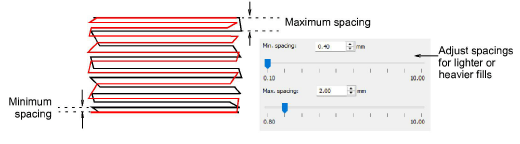
7Adjust spacing settings in the Gradient Fill tab. Generally, you will want to use the same values so that rows blend into one another.
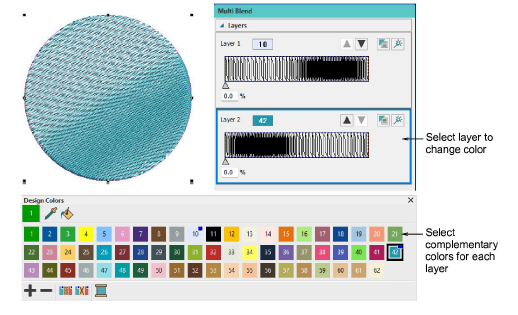
8Choose complementary colors for each layer from the Design Colors toolbar.
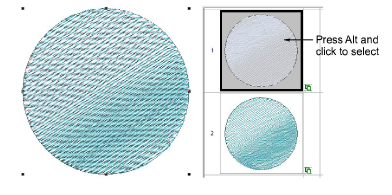
9Study the blended object in the Sequence docker. It is selectable as a single compound object. Holding down the Alt key, click a layer to select. Properties can be adjusted for the selected object.
10Click the arrows in the Multi Blend docker to resequence the layers.
11Deselect layers by clicking away and reselecting the object.
Make further adjustments as required. All object properties and effects are available for each layer.
Adjust blend direction of the whole object or selected layers with the Reshape tool.
To reduce moiré patterns, slightly adjust row spacings or angle between layers.
Add-ons
Get started & learn faster with...