Use Object Properties > Fill > Raised Satin to create raised surfaces – can be applied to lettering or used with trapunto for quilting effects.
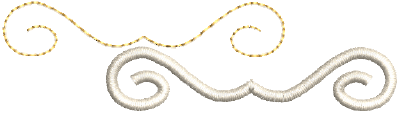
Use Object Properties > Outline > Raised Satin to create raised satin borders – can be used with trapunto for quilting effects.
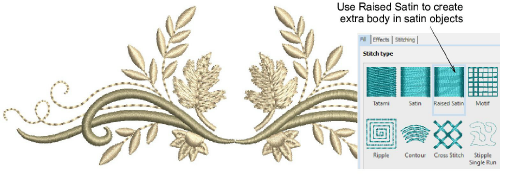
In addition to normal satin stitching, Hatch Embroidery also provides raised satin, both for outlines and fills. The resulting embroidery consists of multiple layers of satin stitching which adds dimension and a raised tactile surface to your designs. Of course it also uses a lot more stitches.
Typically, Raised Satin is used to create extra body in narrow satin objects for visual effect and to provide a raised or ‘sculpted’ surface. Use it to create raised surfaces consisting of multiple layers of satin stitching. This can also be applied successfully to some styles of font.
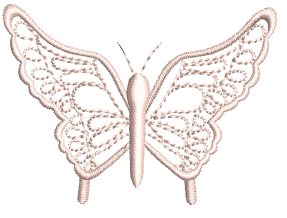
It is used to mimic the padded satin stitch which is manually done on machine. It can also be used with delicate handcraft- and heirloom-type designs. When done by hand, these all employ a narrow satin padded fill.
Raised Satin can also be used for narrow columns of even width.
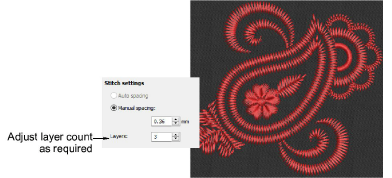
Satin stitch count may be adjusted for use with different thread types and thicknesses. It is sometimes used for folkloristic designs to mimic handmade embroidery that uses thicker thread. Simply enter the number of repetitions in the Layers field.
Tips
You may need to turn off automatic underlay when using Raised Satin.
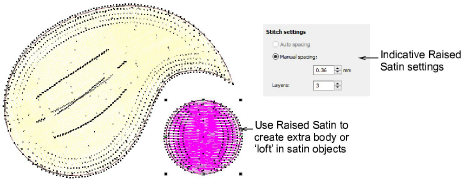
Raised Satin is best applied to objects 7mm wide or less. This is a safe average for most machines. Indicative settings for best ‘loft’ are 0.30mm manual for satin spacing with 3 or 4 layers. Or rely on auto spacing for most object shapes.
The width of a raised satin object must be less than maximum width your machine can stitch. This will be different for some machines. Refer to your machine documentation.
Using a value higher than 10 layers may cause thread breaks, depending on the design, fabric, or thread tension.
When you increase satin stitch count, you should also increase the spacing to avoid bunching and thread breaks.