Adjust control points
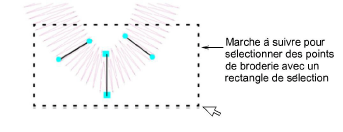
Control points can be selected individually or together, for repositioning or modification.
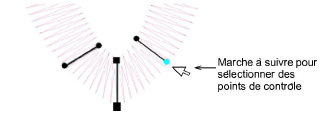
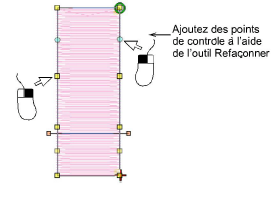
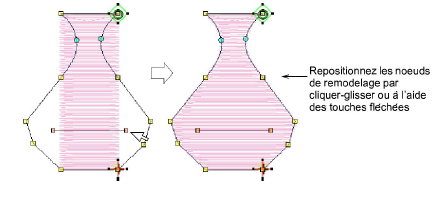
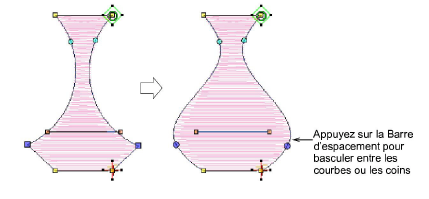
To adjust control points...
-
If you make a mistake, press Ctrl+Z to undo changes. Press Esc to exit Reshape mode.
-
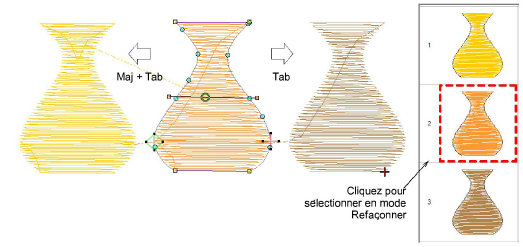
When in Reshape mode, use the Tab or Shift+Tab keys to jump between objects. Alternatively, use the Sequence docker to select objects.
Tip: Stitches are recalculated for objects whenever you press Enter. They are also updated whenever you scale, transform or move the object. Press G to manually regenerate stitches for selected objects.