Use Digitize > Digitize Closed Shape to create closed shapes using either outline or fill stitching. Left-click for corner points, right-click for curves.

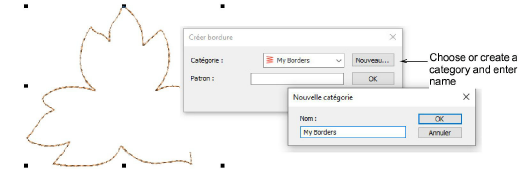
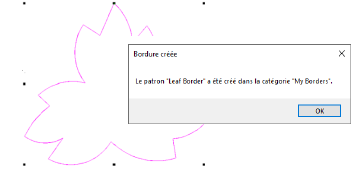
Use Context > Create Border to create a custom border pattern for future use.

Use Context > Outline to outline closed shapes with the current line stitch type.

Use Context > Fill to fill closed shapes with the current fill stitch type.