In some Windows 10/11 installations, embroidery design thumbnails may not automatically appear. If so, follow the steps below.
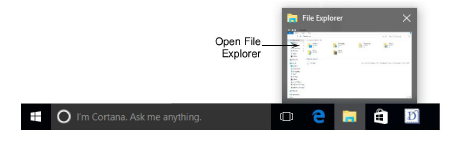
Start the File Explorer program from the Windows taskbar.
Select the Embroidery folder.
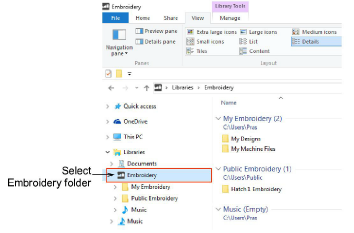
Note: Embroidery libraries do not automatically appear in some installations of Windows 10/11. See Browse designs for details.
Go to File Explorer > View > Options and select Change folder and search options.

The Folder Options dialog opens.
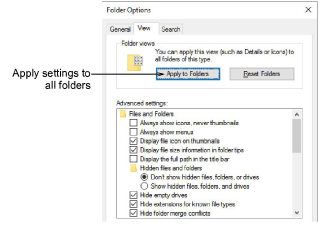
Go to the View tab. Several Windows default settings are not ideal for embroidery. Recommended settings include:
|
Setting |
|
Reason |
|
Always show icons, never thumbnails |
Untick |
So thumbnail images of embroidery designs will show, not the program icon. |
|
Display file icon on thumbnails |
Untick |
So program icons do not display in the corner of design thumbnails. |
|
Hide extensions for known file types |
Untick |
So you can see the different types of embroidery design files – EMB, DST, JEF, etc. |
|
Show preview handlers in preview pane |
Tick |
So you can see a preview of the embroidery design in the preview pane. |
Click Apply to Folders to apply settings to the Embroidery folders. If your File Explorer settings are properly configured, thumbnail images will appear as expected in the Design Library:
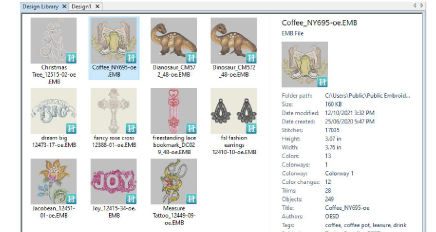
Tip: In addition to the Design Library, these settings affect how thumbnails display in File Explorer and other Windows applications.
Add-ons
Get started & learn faster with...


