Hatch Embroidery allows you to turn rulers on and off and create guides for more accurate digitizing. These make it possible to accurately position and size objects and whole designs.
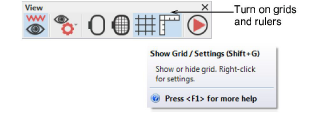
Turn on grids and rulers via the View toolbar.
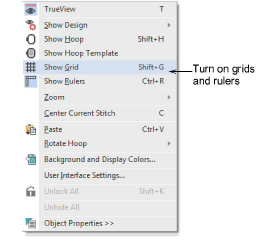
Alternatively, right-click a blank part of the design window to invoke the popup menu.
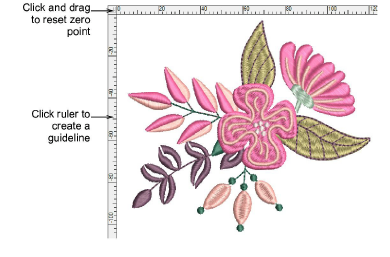
Reset the ruler zero point by clicking and dragging the box in the top left-hand corner to a point on the design. This becomes the new zero point – X,Y (0,0). The grid always aligns with the rulers.
To create a guide, click on either ruler – horizontal or vertical – and click-and-drag into position. Multiple guides can be created and just as easily removed.
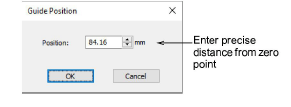
For more accurate positioning, double-click the yellow guide handle. In the Guide Position dialog, enter a precise distance from the zero point, and click OK.
To remove a guide, drag the yellow guide handle off the design window.