
Use Standard > Send to EmbroideryConnect device to send the current design to a named EmbroideryConnect device.
|
|
Use Standard > Send to EmbroideryConnect device to send the current design to a named EmbroideryConnect device. |
Open Hatch Embroidery and load the design or designs you want to send to an EmbroideryConnect device.
1Make sure EmbroideryHub is running and that any devices on the network have been properly configured. When checked, the EmbroideryHub application is automatically started whenever Hatch Embroidery is launched. See System preferences for details.
2Select a design tab and click the Send to EmbroideryConnect icon. Alternatively, select the command from the Output Design toolbox or from the File menu. The dialog will display a list of named devices connected to the network.
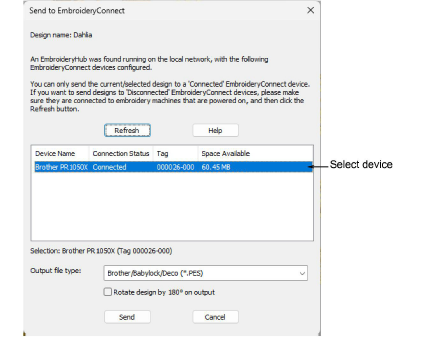
Tip: If your EmbroideryConnect device does not appear in the list, try clicking the Refresh List button to update the list.
3Choose your device and click Send. The design will be automatically converted to the selected machine file format and sent to the EmbroideryConnect device.

4Check the device state indicator of your EmbroideryConnect device.
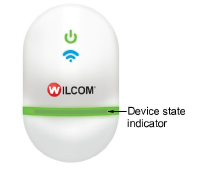
The following table explains the device color coding…
|
Light color |
Device state |
|
Solid green |
Device is running smoothly. Designs can be sent to machine. |
|
Solid yellow |
Device is currently inaccessible by embroidery machine. |
|
Flashing yellow |
Device is currently inaccessible by embroidery machine and file being uploaded (design or firmware update file). |
|
Flashing orange |
Sent file already exists on device. |
|
Flashing red |
Error occurred while transferring file. |
|
Flashing white |
Factory reset in progress. |
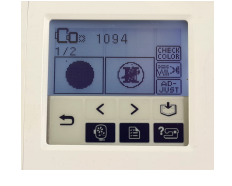
5On the machine, the EmbroideryConnect device is recognized as a USB stick. From here, you can load the design into machine memory for stitching.
6Repeat for all designs you want to send. Only one file can be transferred at a time.
Add-ons
Get started & learn faster with...


