
Use Auto-Digitize / Edit Objects > Smooth Shapes to remove excess reshape-nodes from selected embroidery objects.

Use Edit Objects / Select > Reshape to reshape an object outline, edit stitch angles, or adjust entry and exit points.
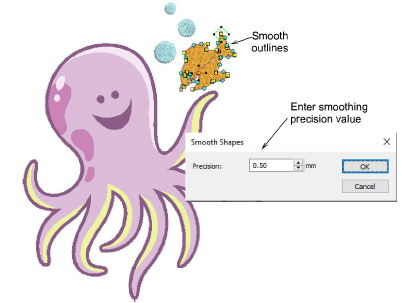
Like vector objects, embroidery objects contain reshape nodes on their outlines. On shapes where the angle changes constantly, Hatch Embroidery may insert hundreds of reshape nodes, making reshaping difficult. This is particularly so when using auto-digitizing methods to generate objects. The Smooth Shapes command lets you apply curve ‘smoothing’ to embroidery objects.
1Select the object (or objects) to smooth. You can only smooth objects that have been ungrouped and selected. However, you can select multiple objects.
2Optionally, click the Reshape icon. Reshape nodes display around the outline.
3Click Smooth Shapes and enter the precision value in millimeters. This controls how closely the smoothed outline follows the original. The larger the precision value, the fewer the reshape nodes.
Add-ons
Get started & learn faster with...


