Zoom & pan designs
Magnify your view of the design by zooming in on individual stitches or details, or zoom out to display more of the design in the window. In addition to the scroll bars, panning provides a quick way to view parts of a design which are not currently visible in the design window. You can also set your system to display all embroidery objects in a design, or hide all but the selected objects. Panning is typically used after zooming in on an area.
To zoom and pan across your design...
-
Because you will use these tools frequently, it’s a good idea to memorize the shortcut keys indicated in brackets after the tool name.
-
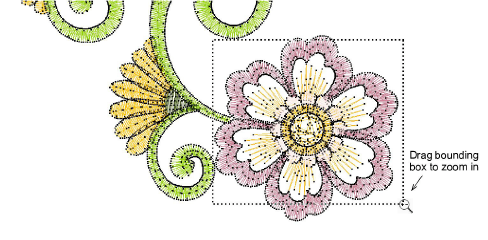
For instance, to zoom in on a section of the design, press the B key on your keyboard, then drag a bounding box around the zoom area.
-
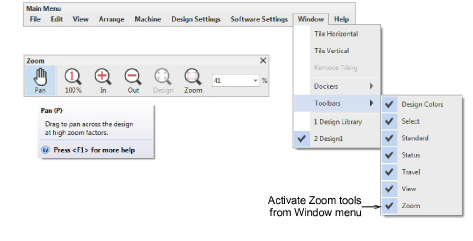
To pan across a design in the design window, use Pan or press P. The cursor changes to a grabbing hand symbol. Click and drag to pan the design.
-
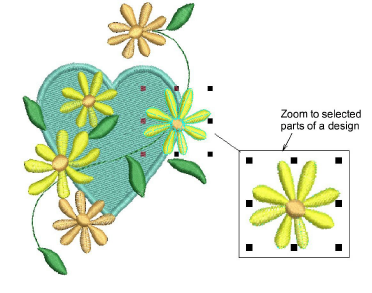
To display selected objects, select View > Zoom > Zoom to Selected or press Shift+0.
-
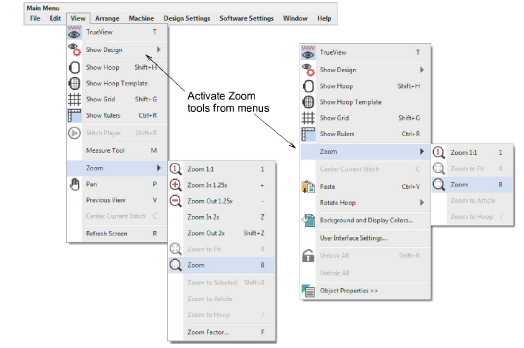
To fit the whole design in the design window, select View > Zoom > Zoom to Fit or press 0.
-
To view the design at actual size, select View > Zoom > Zoom 1:1 or press 1.
-
The same zoom options are available via the View menu. Alternatively, right-click the design window to open the popup menu.
Note: Press Esc to cancel tool selection.